Originally posted at Serverless
Since day 1, the Serverless Framework has had the concept of stages; the ability to create different stacks of the same service. This concept works really well when you need to provide different types of environments for the software development lifecycle of your team or organization, as it allows you to deploy development code to a development environment using a development stage:
serverless deploy --stage develop
This does come with a few issues, however. How do you manage different environment variables between the various environments? What if you wanted to deploy to multiple AWS accounts?
The Serverless Framework Dashboard uses features called Providers and Parameters to allow you to manage exactly that. Let’s dive in!
Initial setup
Let’s get started with the basic setup we need. Its pretty quick!
First, go to the Serverless Framework Dashboard, and create a new account if you haven’t got one yet or log into your existing account. If you created a new account, it will prompt you to give your org a name. You can name it anything you like and don’t worry, you can create additional orgs later for free if you need one specially named.
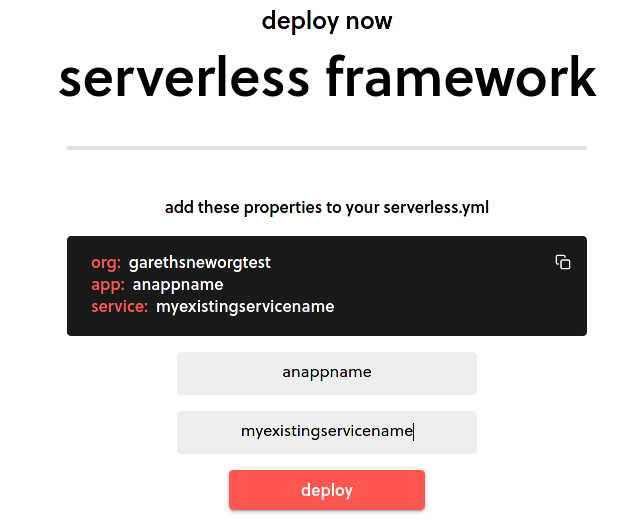
Once done, you can click the create app at the top right and since we are talking about adding an existing Serverless Framework service, go ahead and choose that option. Here just add the app name you wish to create and the name of the service you are going to deploy. Click the deploy button and you will be prompted to create or choose a Provider. Provider's is a feature to help manage your connection to ... well ... a provider like AWS. Once you have that complete, you just need to copy and paste the small yml snippet with the org and app properties into your serverless.yml, save the file and deploy.
When we deploy our up, if we didn’t set a stage at deploy time with --stage stagename, it would have defaulted to the dev stage so you may something like this.
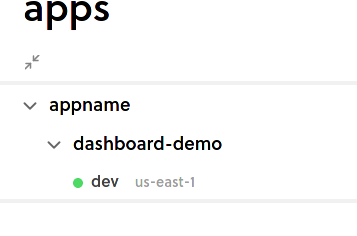
However, what if we want to deploy multiple stages? How do we manage that?
Separate AWS accounts
Separating our various environments, such as development and production, into alternate AWS accounts is a pretty common practice. If we want our development environment to deploy to an entirely different AWS account to our production environment, we can do so by first of all adding that alternate AWS account to our org.
Go to the org settings section clicking org on the left, then choose the Providers tab. Here you can add a link to any and all AWS accounts you may want to assign to any of your stages going forward. You can even choose a default provider which we recommend setting to an AWS account you don't mind someone accidentally deploying something to; in other words, not your production AWS account.
Once you have added the additional AWS accounts, you can head back to the app screen, and if you have any deployed services (which you should after the instructions above), you will see them here. What we want to do is create a new prod stage and assign our prod only AWS provider to it before we deploy. We do this by clicking the menu icon to the right of the service name, choosing “add stage” and then giving the name prod. Clicking on our new prod stage with a grey “pending” icon we can switch to the provider tab and choose which of the providers we want to allocate to this yet to be deployed stage.
Now, when we do deploy with serverless deploy --stage prod, that deployment process will use the associated provider to get temporary credentials to our prod AWS account and do what it needs to do.
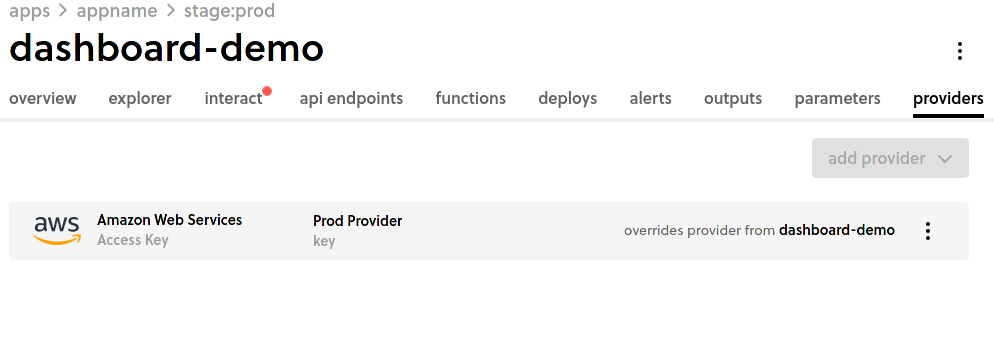
But there are more benefits built in by default as well. Because you can now do deployments to AWS via the Serverless Framework Dashboard, you no longer need to distribute Access Keys and Secrets to developers so that they can deploy from their local machines. When a deployment is done via the dashboard, at deployment time the Serverless Framework requests temporary access credentials created via the provider you just setup. Once deployment is complete, those credentials are no longer in use.
Much better for security!
Parameters
Your application needs configuration data. Whether that’s to connect to data sources or third party API’s, it needs these details for the running of your application. However, these details often differ depending on whether you are running in the development environment or in production, or even locally.
Thankfully, the Serverless Framework Dashboard has a feature to help us solve that. Open up the settings for a service as we did previously you should see a menu with options for CI/CD, Provider and Parameters. Switching to Parameters we are able to add a collection of key/value pairs, with the values stored encrypted.
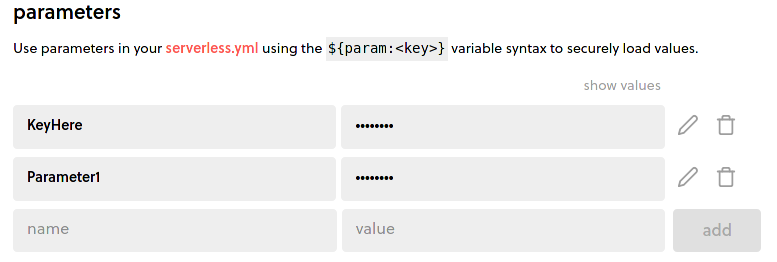
These parameters are made available to ALL stages within it. This is a great place to put defaults that are always shared across all stages or perhaps just some sane values to make sure deploys don’t error no matter what. As mentioned though, we do want to be able to set unique parameters for stages themselves.
So lets go back to the apps screen and click through to any of our deployed stages, and we should see the parameters tab:
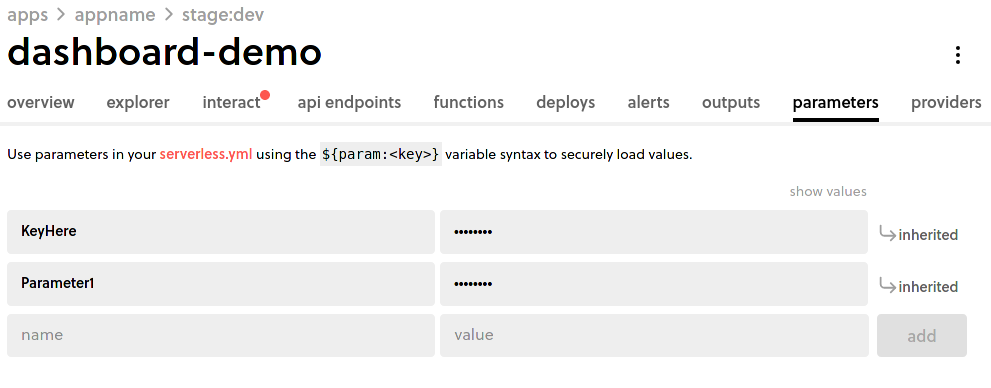
It is here that we can see that the parameters we had added at the service level filter through, but hovering over the inherited label, we can now override this inherited value with a custom one for our stage. We could even add any parameter we need for this stage from scratch if we so desire!
Now at deployment time, these values are available to be used in our serverless.yml file:
The ${param:} syntax retrieves the value stored against the key at runtime. But combined with the existing variables syntax of the Serverless Framework, I can also make sure that local development has the required values:
If the param does not exist, as may happen in a local environment, the default value after the , is used instead.
Lets make the infrastructure team happy
If you were a user of the previous dashboard, you may have noticed that the Safeguards feature has been removed. It is not gone, however. We moved Safeguards into a plugin where you can choose to add it to your project or not and continue to add organizational policies to your services that are evaluated at deployment time. You can find out more at the plugins GitHub page
With everything we’ve looked at, imagine looping in Serverless Framework CI/CD which uses all of these features by default. It can help you manage a seamless software development lifecycle across multiple stages and deployment scenarios. All you need to get started is to go the Serverless Framework Dashboard and sign up!

