Originally posted at Serverless
New AWS HTTP APIs
Earlier this week, we announced support for AWS HTTP APIs and talked a bit about what is possible with them. If you’d like to learn more about the AWS HTTP API and the new event source we’ve added integrate with it check that post out.
In this post, however we’ll jump in to using the new AWS HTTP APIs with one of the new features they offer — the JSON Web Token integration. I’ll show you how to use Amazon Cognito to add authentication and authorization to your AWS HTTP API endpoints.
You can choose to follow along with examples in either Node.js or Python and towards the end, I’ll show how you could modify the examples in order to work with a tool like Auth0 or Okta instead of Amazon Cognito.
Let’s get started!
Setup
In this guide, we will create an Amazon Cognito User Pool, App Client, and Domain all from scratch in the resources section of serverless.yml. You can choose to use either the Node.js or the Python version of the code. Run one of the following commands to get started:
For Node.js — git clone https://github.com/fernando-mc/aws-http-api-node-cognito.git
For Python — git clone https://github.com/fernando-mc/aws-http-api-python-cognito.git
After you have the code, make sure you’ve also installed the Serverless Framework, setup and configured the AWS CLI, and (optionally) created a Framework Pro account.
Deploying the Project
With the repository cloned, change directories into the repository and make sure you’re on the same level as the serverless.yml file. Then you can make a few changes to the demo code:
Either configure your own org and app name with Framework Pro or remove the org and app from the top of serverless.yml.
Update the DOMAIN_SUFFIX value in the provider environment section to something unique. I recommend you use something like your name and favorite mythical animal.
After that, save the file and run serverless deploy.
This should deploy all the Amazon Cognito resources required as well as all the parts of our new HTTP API.
After the deployment completes, you should see two API endpoints in the output:
Copy your endpoints down and then try using the GET endpoint by pasting it into your browser or a tool like Postman. You should see this result:
{"message":"Unauthorized"}
Similarly, if you try to send JSON data to the POST endpoint you should see the same result.
This means these endpoints are protected and will only work with a valid JSON Web Token! In order to get this, we’ll need to generate one using the Cognito User Pool Hosted UI.
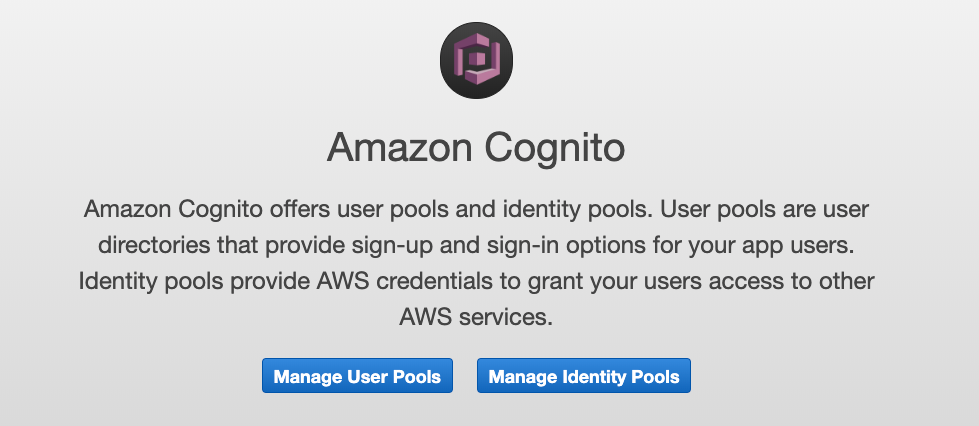
Log into the AWS Console and navigate to the Cognito section of the dashboard. Make sure you’re in the same region you deployed your service to and click Manage User Pools:
From there, click on the user pool you created:

And then navigate to the “App Client Settings” page:
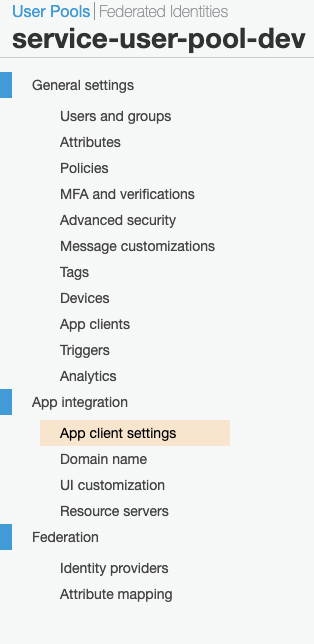
And then scroll down to find the “Launch Hosted UI” button.
Then sign up for your own account on the hosted UI
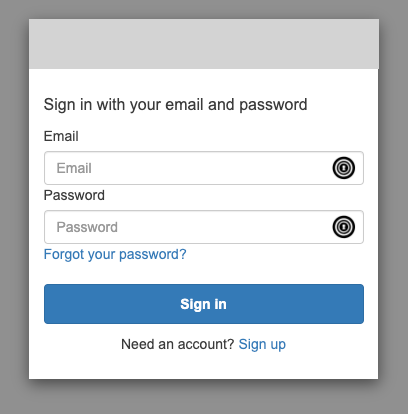
After you sign up, you should be redirected to a non-available localhost page. Copy the URL out of your browser. It should look something like this:
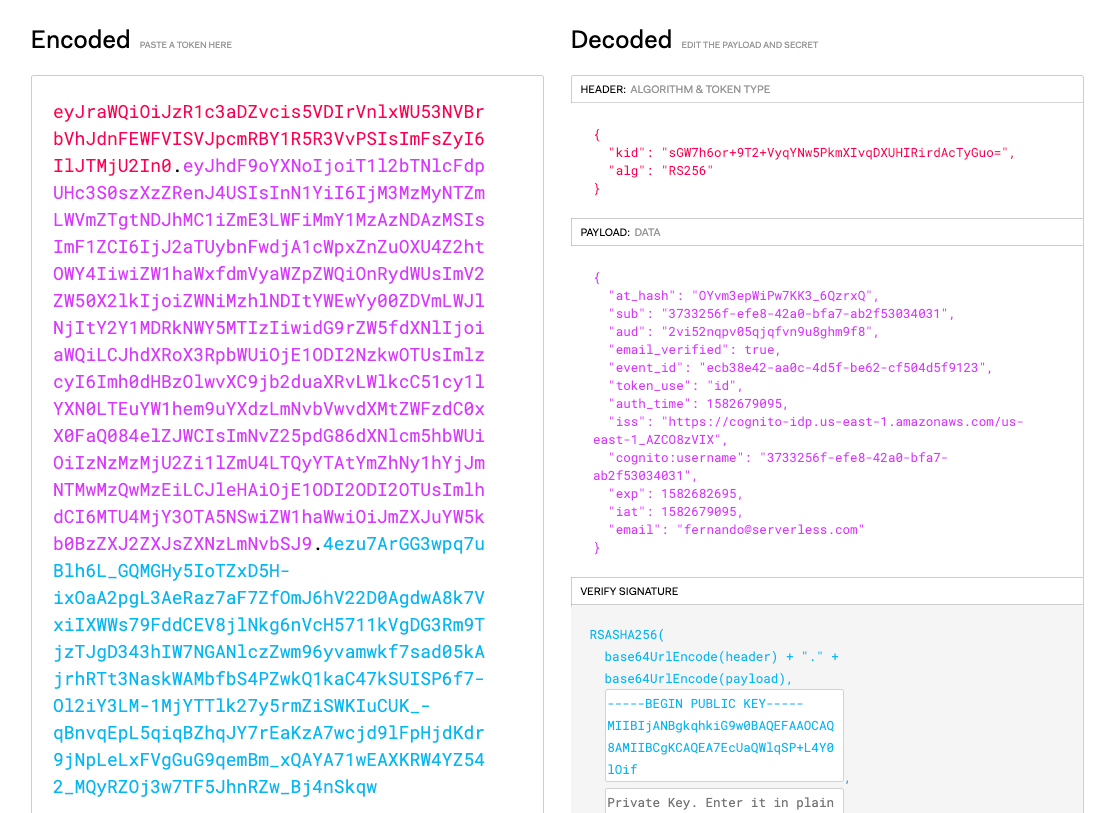
That URL contains two JSON web tokens, an id_token and an access_token. They each serve different purposes, but either can be used in this case to verify against the API.
Grab the id_token by copying everything after the id_token= and before the &access_token. You can inspect the JSON web token on a site like jwt.io. Just paste the token in the debugger as shown below:
From here, you can open up something like Postman and set the Authorization section of the request as shown below before testing the GET endpoint:
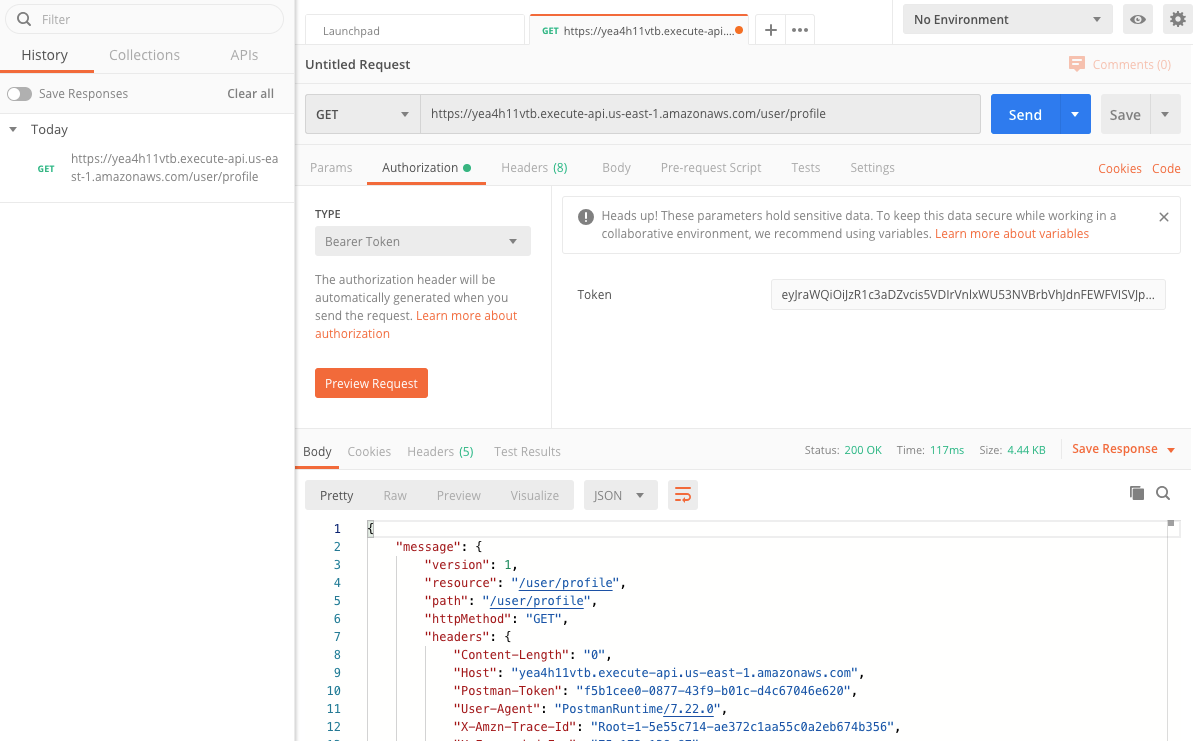
You’ll need to select the Type of Bearer Token and paste your token into the text box. Keep in mind that you’ll need to copy it exactly! You can’t have extra spaces, new lines, or a trailing & character that you might have copied accidentally.
It should return a nice juicy response containing all the fun information you might want about the token’s owner in the message.requestContext.authorizer.claims.
Importantly if you try again with the access_token you'll get a different set of information in the response. These two tokens are designed for different purposes and as such they contain different sets of information.
Cognito Alternatives
I included Cognito in this service to make it easier to demonstrate without including third party services. However, you could also easily replace Cognito with something like Auth0 by removing the resources section from serverless.yml and then replacing the values in the provider section under the httpApi and authorizers.
The updated httpAPi section would look something like this:
This JWT integration simply requires that you send either an id_token or access_token in via the Authorization header with the value of Bearer . AWS will then take care of validating the token against the provided issuerUrl and audience.
Here are two examples that have a more simplistic configuration like this:
Simply clone either repository and follow most of the same steps shown in the earlier section. You’ll be able to skip setting the DOMAIN_SUFFIX environment variable as you'll already have configured and created your own resources to replace the User Pool Domain.
You will also need to figure out how to generate the id_token or access_token on your own using the other provider in order to test the integration.
Now What?
Congratulations! At this point, you deployed and tested your AWS HTTP API and it’s ability to authenticate users who want to access an endpoint!
In the future, you may want to learn how to manage scopes and permissions with the access_token. But for now, you can start to use this new tool to shave hundreds of lines of JWT verification code out of your AWS HTTP API projects!
You can also start to evaluate the limitations of the AWS HTTP API to see if it is ready to support your existing API Gateway workloads.
Have questions about the guide? Get in touch or leave a comment below!

